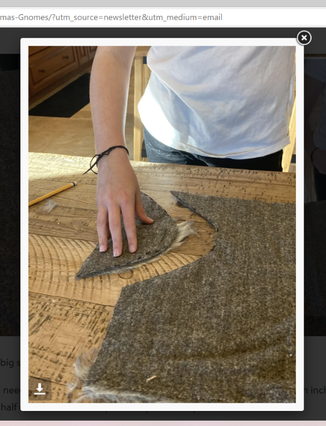
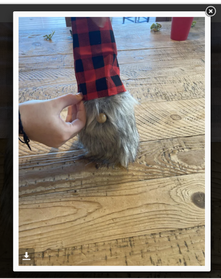
 Christmas is coming. For kids that means a week or two of vacation. I picked out 3 simple projects for families who’re looking for something fun to create. Project #1. A Christmas Gnome: I took 8 screenshots for the 4 steps in this project. Instructables has many more, that show more specific instructions. Link: Christmas Gnomes : 4 Steps (with Pictures) - Instructables 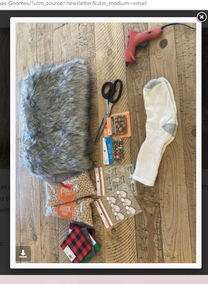 Materials: Faux fur Scrap fabric for hat Socks, pick the size your gnome should be Wooden Bead Beans or rice to fill the sock. Hot glue Rubber bands or hair ties Optional – Jingle bell and stickers to decorate the hat. You could also use a favorite Christmas pin, the jewelry kind. STEP 1 Make the body. Fill your sock with rice or beans. 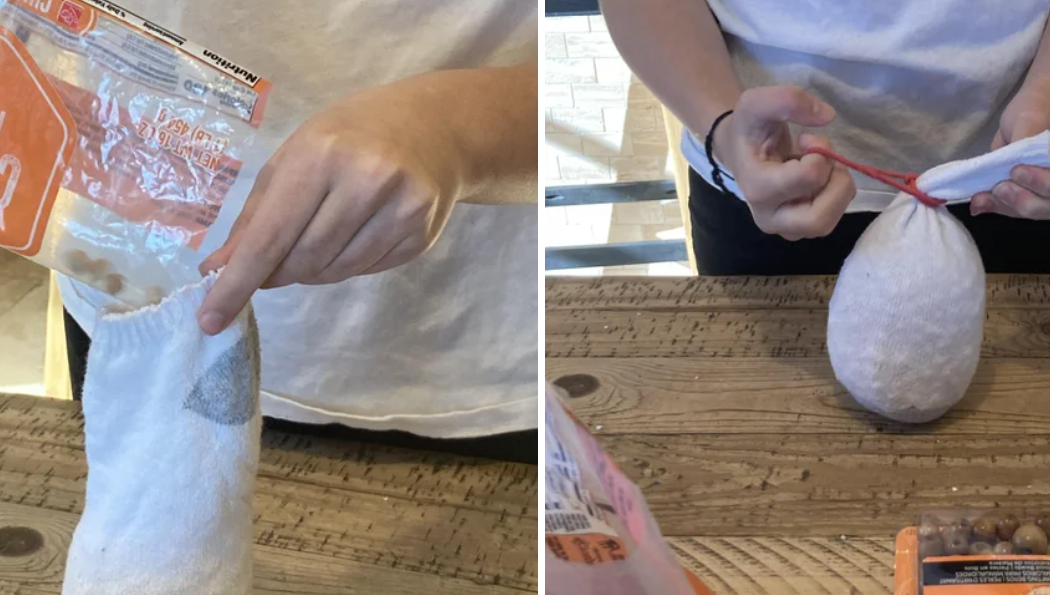 Tie it off with a rubber band or hair tie. STEP 2 Make the beard by cutting a half-moon shape out of faux fur. Cut it to fit your sock, leaving an inch of room at the top and extra fur at the bottom.
Fit your beard so that you like how it looks. Then use hot glue to hold it in place. Pick a wooden bead for the nose. Separate the beard. Then glue on the bead for the nose.
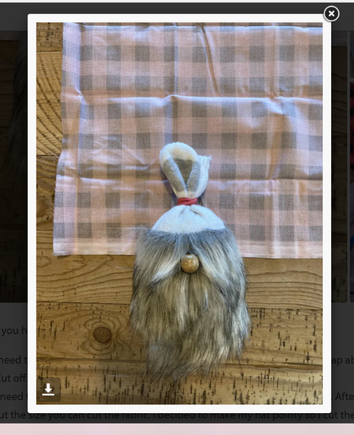
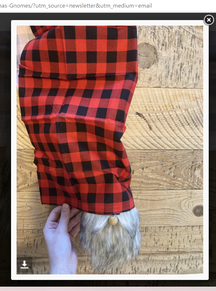
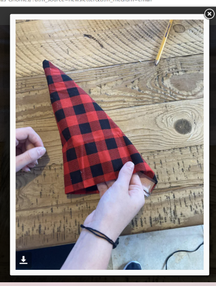
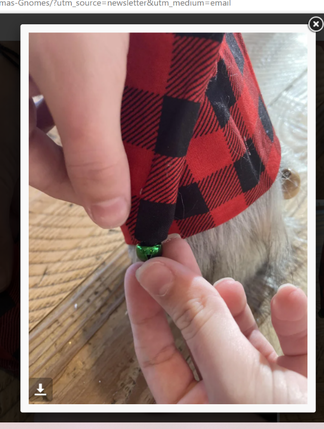
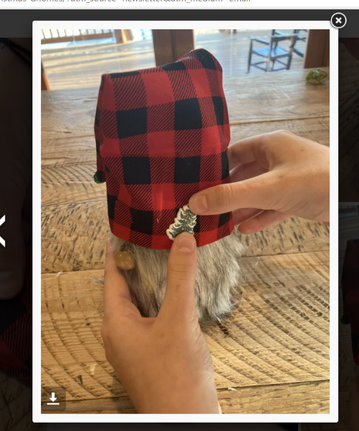
STEP 3 Make the hat by fitting the fabric to your gnome’s head. Make sure you overlap the cloth by at least half an inch. Cut away the extra fabric. In this version they used a cone. Hot glue the fabric to make the hat. Then glue it onto your gnome’s head.
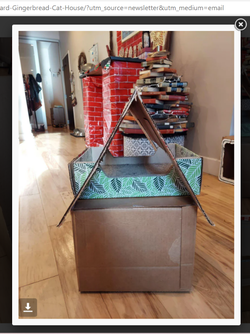
STEP 4 Optional – Accessorize your gnome. This one used a jingle bell and a sticker. You could use a pom-pom, a small Christmas pin, or whatever you’d like. 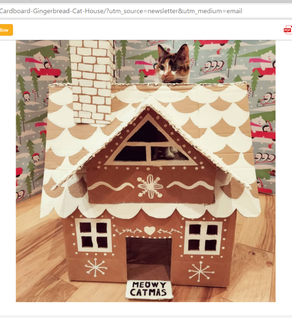 Project #2. A Gingerbread House for a Cat: I took 14 screenshots for the `12 steps in this project. Instructables has more pictures, that show more specific instructions. This house is adorable, but it’s also tricky to make. I’ll show you the basic steps. Click on the link if you want to try this project. Also, if you don’t have a cat, this would make a great doll house or any other kind of structure. Just change the the decorations or the building design to make it fit you. Link: Cardboard Gingerbread Cat House : 12 Steps (with Pictures) - Instructables 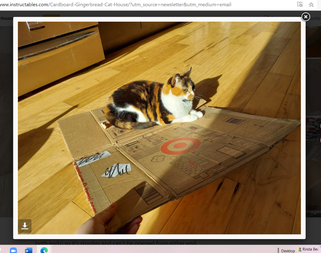 Materials: Hot glue gun & sticks Scissors 1 large cardboard box Craft knif (x-acto) 1 medium box Paintbrushes 1 small box/extra cardboard 1 cat scratcher bed (or another box) White acrylic paint
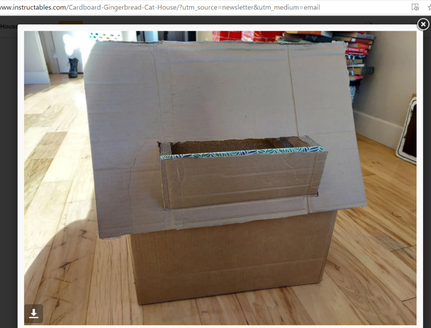
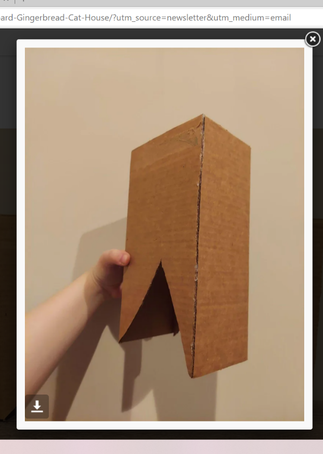
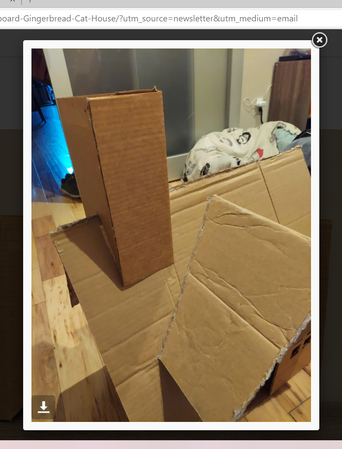
STEP 1 Build the base of the house. That’s your biggest box. STEP 2 Make the second story. That’s the cat scratcher bed, or another box Add in the roof and the gables. 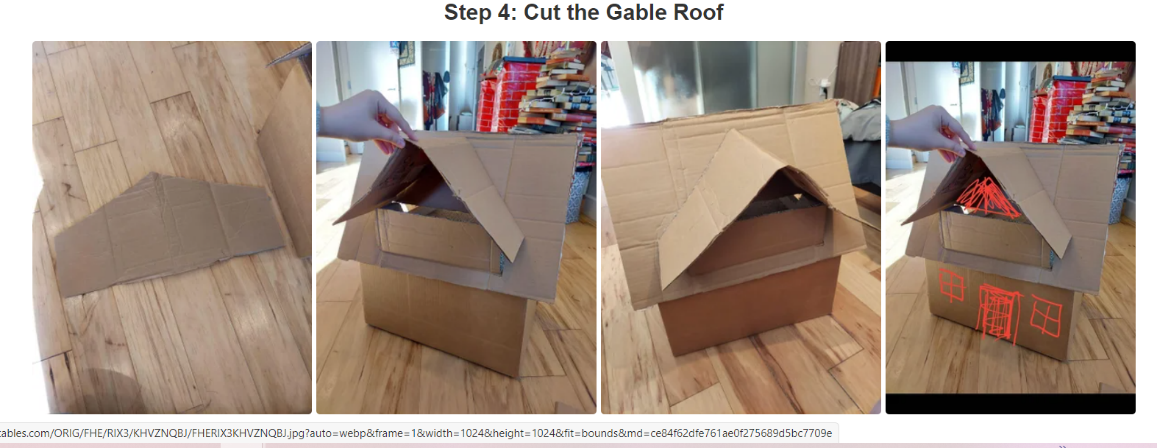 STEP 3 Instructables has this as #4, but I’m giving you bare bones to help you decide if you want to try this project. Cut out the Gable Roof, and glue it into place. 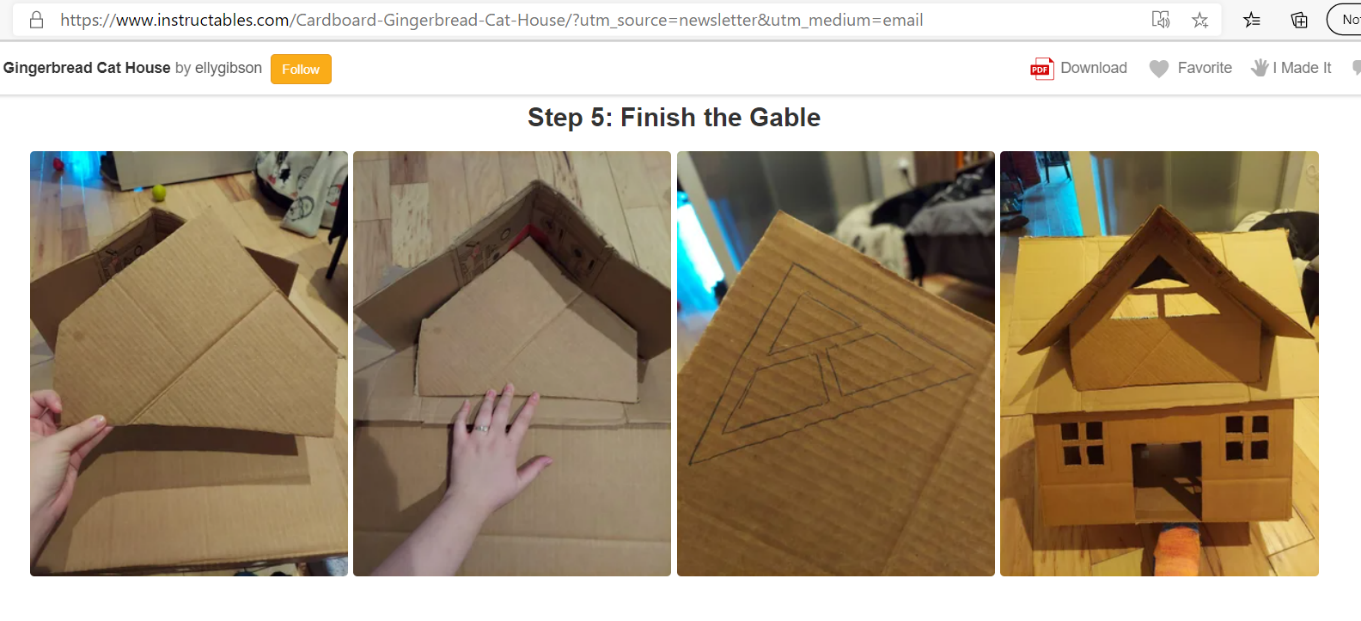 STEP 4 Finish off the gables so it looks more like a real house. Cut out the windows and the doors. Then glue the gable into place.  STEP 5 Add in reinforcements. Look for places that look droopy, or hold a lot of weight. Draw, cut out, and glue the reinforcements in place. The Instructable designer used 8-10 of them, and this is her 3rd house this fall. Reinforcements are a good thing! 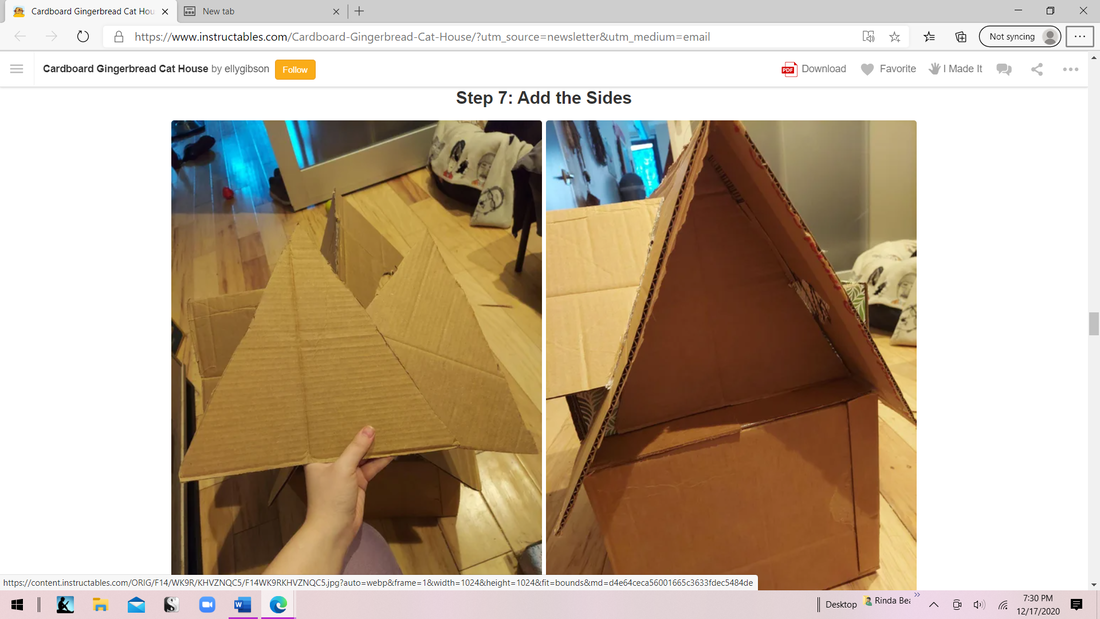 STEP 6 Add the sides – just 2 simple triangles! You might want to add in a few more reinforcers. Can you ever have too many? Really!
STEP 7 Draw, cut out, and glue the chimney together, but DON’T glue it onto the roof. You’ll want to paint everything first! 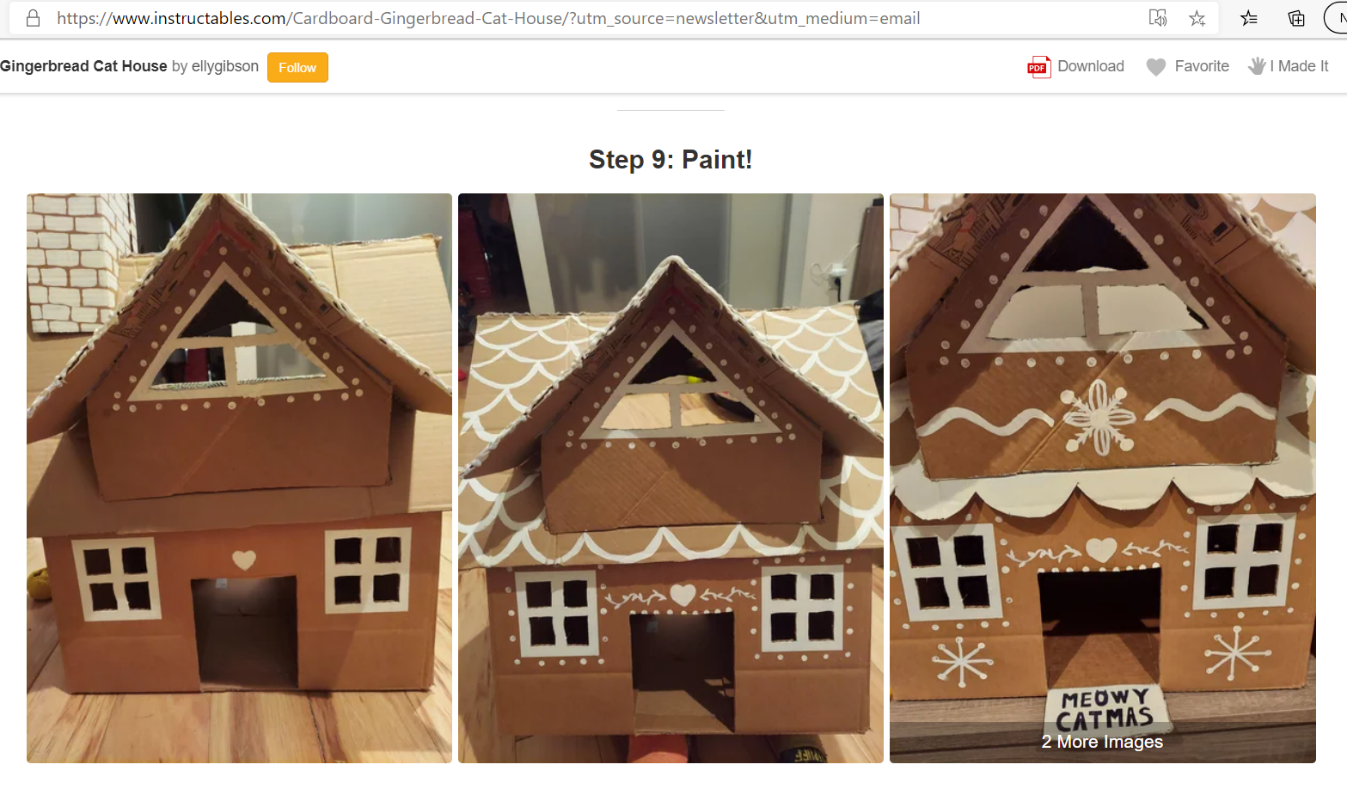 STEP 8 Paint! I would sketch these out first because I’m terrible at painting. The designer suggested painting around the windows. Add in dots and hearts, snowflakes and swirly lines, whatever you’d like to decorate your gingerbread house. Paint the shingles on the roof and bricks on the chimney. Then glue the chimney onto the roof. 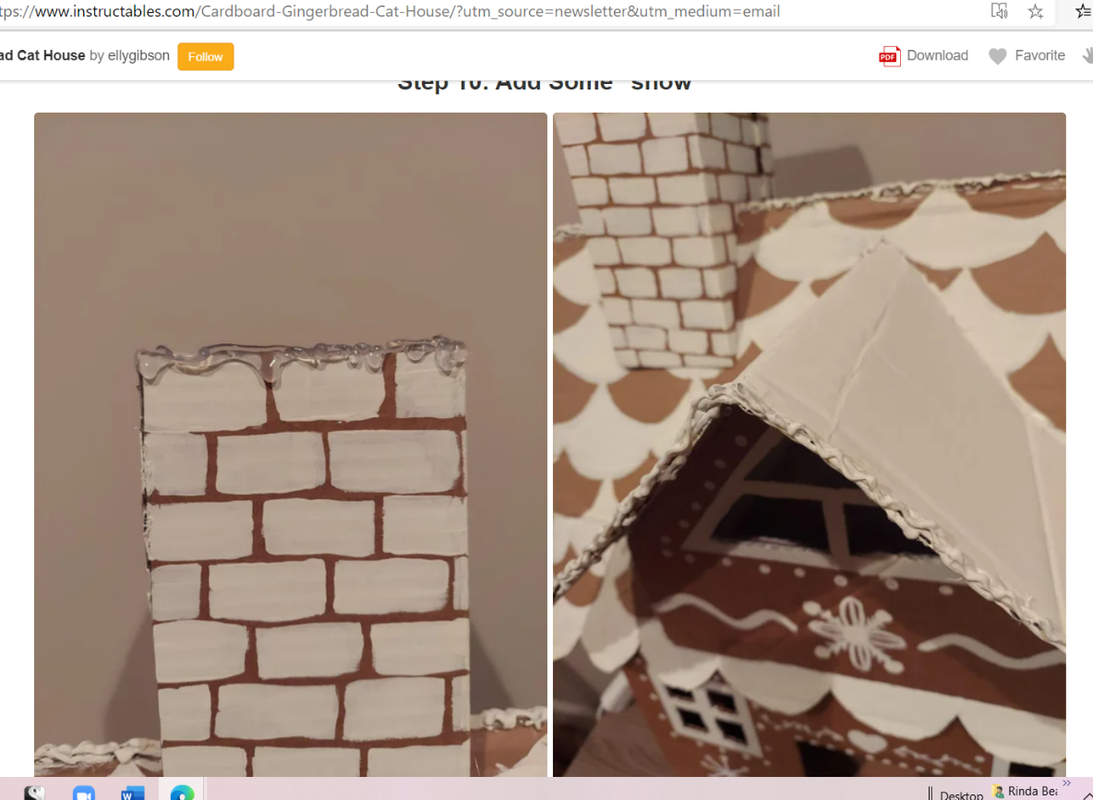 STEP 9 Add in the snow – with a glue gun! If it’s white, you’re done! If not, get out your paintbrush, and paint it white. 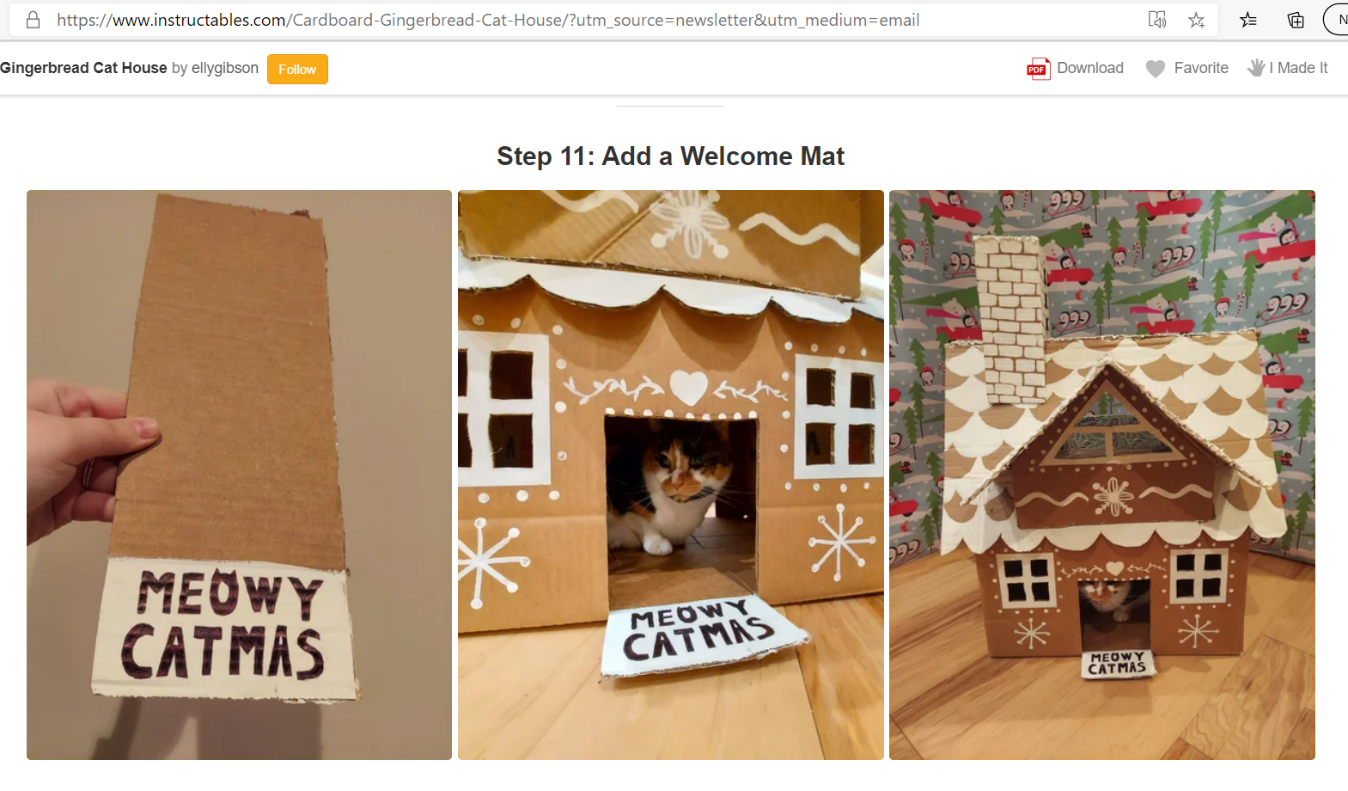 STEP 10 Optional – make a welcome mat. It should be as wide as your door. 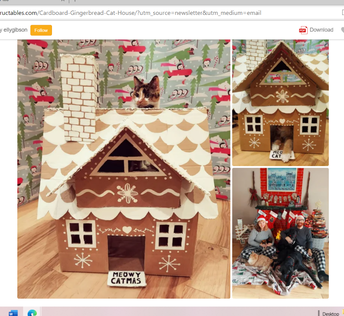 STEP 11 Enjoy! Your cat will! I didn’t know that cat’s love cardboard! The author of this Instructable has three, in different sizes, and they all love their gingerbread house! Merry Christmas! From the Cat Gingerbread House Designer 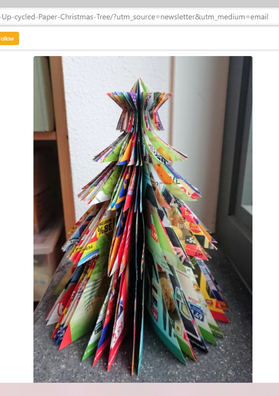 Project #3. A Simple Up-Cycled Paper Christmas Tree: This is the easiest project I picked. I took 5 screenshots for 5 steps. This one is easy-peasy! You could make it with my directions, but I included the link, just in case. Want to create a similar project? Look for a simple design, maybe from a cookie cutter. Remember – only use half the shape to make it 3D. Link: Simple Up-cycled Paper Christmas Tree🌲 : 5 Steps (with Pictures) - Instructables 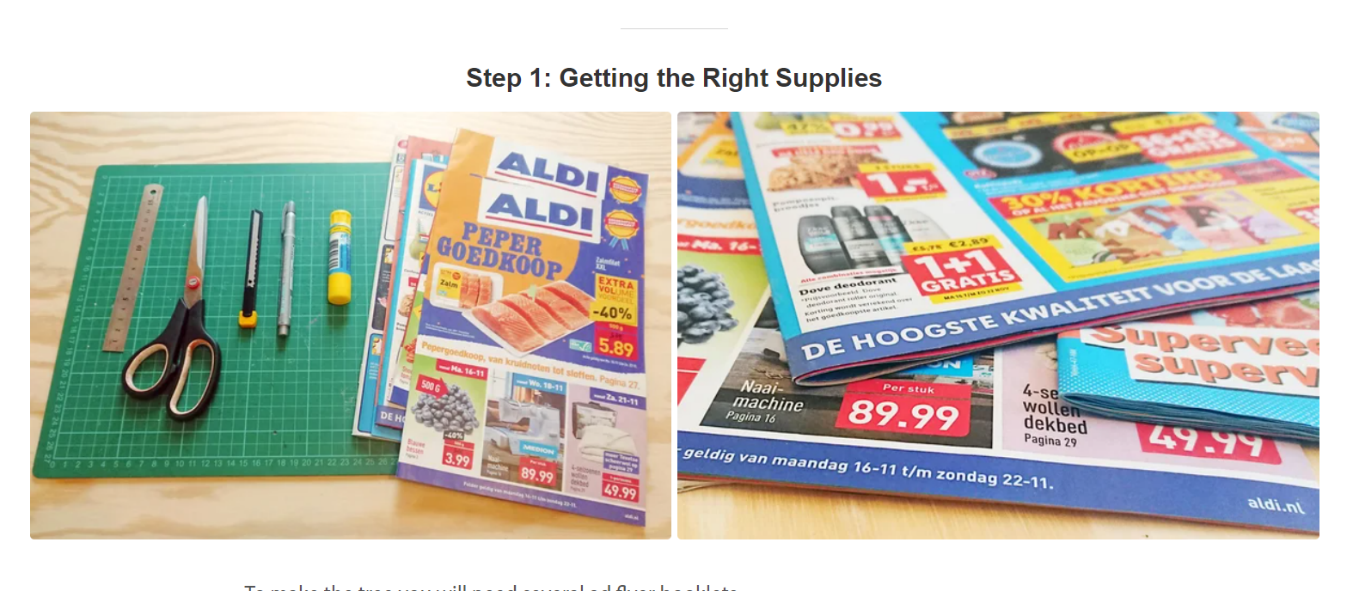 Materials: Newspaper fliers – You’ll need at least 40 pages to make your tree strong enough. This one has 110 flier pages. Scissors or craft knife (Note – the knife will give you nicer edges.) Glue sticks are great. Go easy on the glue if yours is liquid. 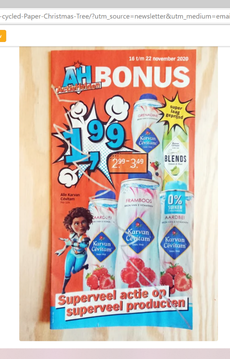 STEP 1 Decide how big your tree will be. It should be as tall as your shortest flier, and as wide as your narrowest one. Trace your tree on the booklet. This one’s traced in white. Notes – The straight edge of your tree must be on the fold. Allow at least 5mm between the tree and the star. Need a template? Click on the Instructable link. 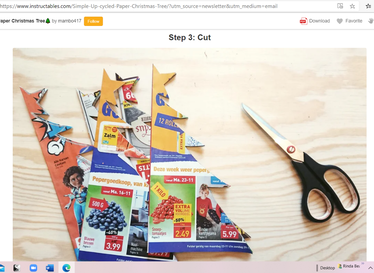 STEP 2 Cut out your first tree. Use it as a pattern for the rest of them. STEP 3 Glue two booklets together. Use the glue stick on the bottom tree. Lay the new booklet on top. Wipe off any extra glue. 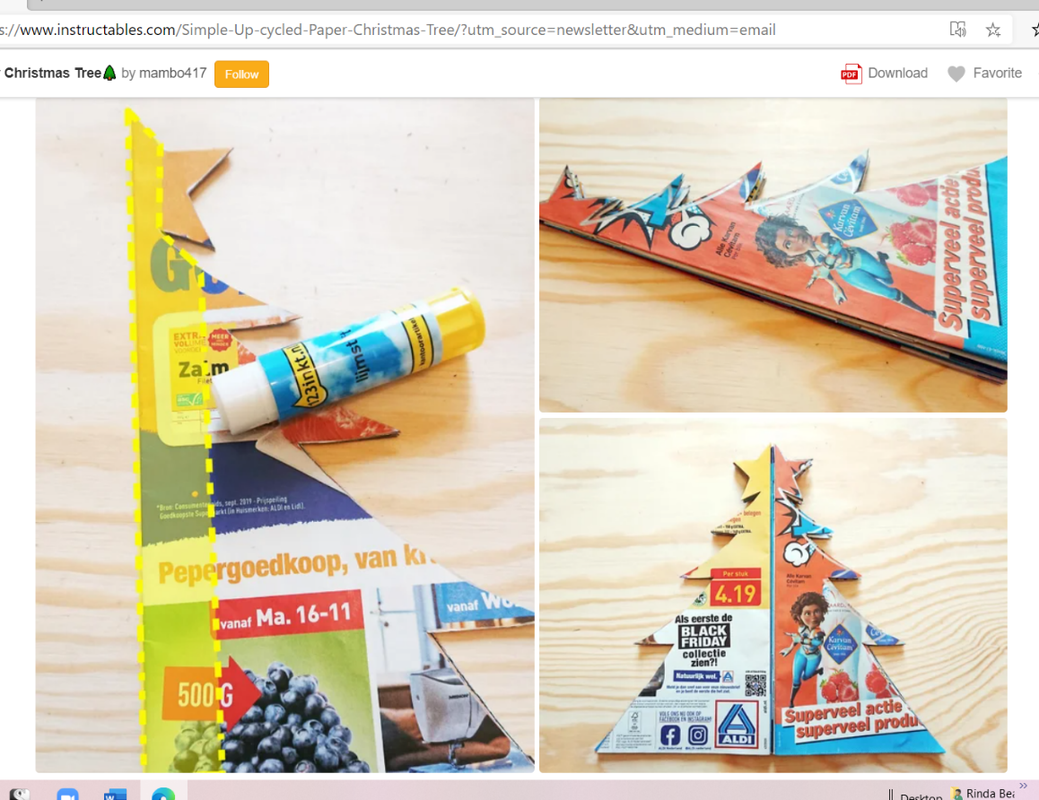 When all the booklets are glued together, open up the tree so you can see the first and the last page. Glue them together.  STEP 4 When the glue’s dry, set up your tree by spreading out the pages. Merry Christmas!
0 Comments
Your comment will be posted after it is approved.
Leave a Reply. |

AuthorWhen I write, I can only have one voice in my head, mine. A little noise is fine. But too much, or worse yet, WORDS, and I must change rooms or pull out headphones. Then I can write on! Categories
All
|
 RSS Feed