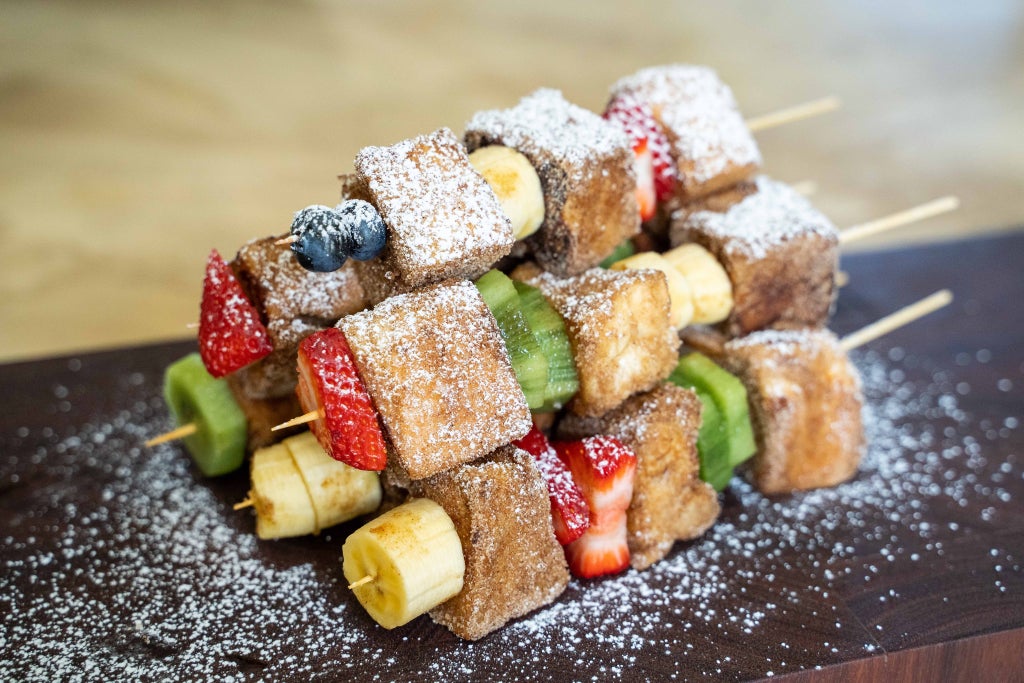
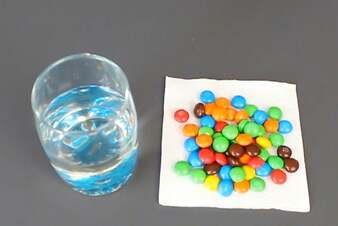
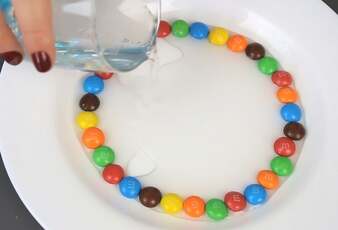
 This is one of my favorite sites. They have everything from technology to cooking, and I’d like to show you a few of the possibilities they offer. This is their home page: https://www.instructables.com/ Look at the top left of the black bar. You’ll find buttons for Circuits, Workshop, Craft, Cooking, Living, Outside, and Teachers. I have an account with Instructables so they’re always sending me newsletters that are full of ideas, and that’s where I found this recipe, from an old email. Part 1 – French Toast Skewers You can search for this recipe on the home page. It’s from ElisesEats and the cooking section. It must have been part of an Instructable contest. It didn’t win, but it was a runner up. Elise put together directions and a video to show you how to make it. Here’s her link: https://www.instructables.com/id/French-Toast-Skewers/ You can make it Elise’s way, or take your own shortcuts if you know how to make French Toast. Elise used really thick bread, but you could use whatever you have. Pick your favorite fruits. Elise used strawberries, kiwi, bananas, and blueberries, but I love making it my way. I’d cut the fruit first. Then I’d make the French toast. Elise sliced it before cooking, but you could do it later. Then let your family and friends have fun putting together their own personal skewers. Give them a little syrup, and you’re ready to eat! YUM! 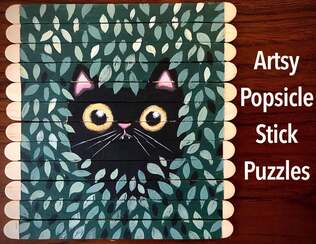 Part 2 – Artist’s Popsicle Stick Puzzle I searched through my Instructable emails for a craft project and found this one from littlebadwren. It looks easy, and you probably have most of the materials at home already. You’ll need popsicle sticks, painters’ tape (green or blue), scissors, ruler, pencil, paint brushes, and any brand/color of acrylic paint. Here’s her link: https://www.instructables.com/id/Artists-Popsicle-Stick-Puzzle/ Littlebadwren has 6 designs, or you can make your own. If you want something simple, try the cat. Then add in a bunch of leaves. That’s what Little did. I also like the girl (below) and the butterfly (from her page). You can copy her backgrounds, or try your own.  Directions: 1. Tape the edges to hold your puzzle together. Allow ¼ inch edges. 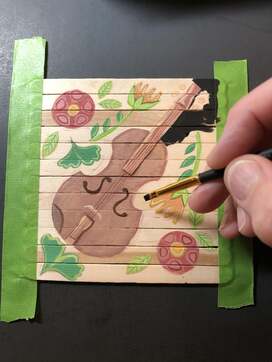 2. Trace or sketch your design. Then paint. 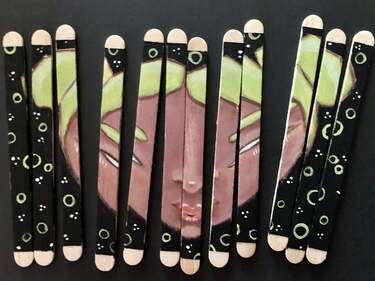 3. When the paint’s dry, gently bend each stick. Your puzzle will crack apart. Then pull off the tape. PS – For extra fun, paint a 2nd puzzle on the back before you pull it apart. Part 3 – The Science of Color I have two experiments for you tonight. Both of them are simple. You only need a couple of supplies. My kind of science! The first is called M&M SCIENCE – CRAZY SCIENCE (RAINBOW). You can find it in the LIVING section of Instructables under LIFE HACKS. Its author is MORENA DIY. I bet you can guess what you need for this experiment – a glass of water, a bag of M&M’s, and a plate. The directions – lay the M&M’s around the plate in a circle. You can use any pattern you’d like. Tell your child you’ll be pouring water over them. Then ask him/her what will happen. Even if they’re wrong, predictions are a powerful part of science. Now – pour that water over those M&M’s and watch what happens. When you’re done, talk about your prediction and the results. If you want to have fun, and I always did with my 2nd graders, ask them what will happen if you run a stick through the colors. Then, do it! Check your prediction against the results. I think this is where scientists are born! PS – if you want to extend the experiment, ask another question – what would happen if you changed your pattern? Then let them try it. There are an infinite number of ways to arrange the M&M’s, but be careful! You don’t want to get them all wet. Save some to eat! Morena’s link - https://www.instructables.com/id/MMs-Science-Crazy-Science-Rainbow This is the 2nd experiment. It’s called AMAZING SCIENCE, and you’ll find it in the Instructables LIVING section under life hacks. Its author is rexbairy1. This photo is actually the end result. This is the only image I could find. Rex has a video for the experiment. I’d watch it before working with kids. I love how easy peasy it is, yet fascinating. 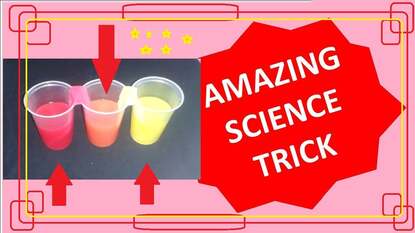 The Supplies – 3 clear cups, 2 pieces of paper towel, and food coloring. The cups are in a row like the photo. Fold a paper towel and put it between the 1st and 2nd cup. Put another paper towel between the 2nd and 3rd. Then add water and food coloring to the 1st and 3rd cups. Any color will do. In this image, they used red and yellow. The 2nd cup will remain empty, at least at the beginning. What I found fascinating with the results is that the water rose to the same level in all 3 cups. I wasn’t surprised by combining colors. When you put red and yellow together, you will always get orange. If you want to keep the experiment going, try other colors to see what happens when you combine them. PS – if you can explain why the cups are always at the same level, I’d love to read it. I’m fascinated with the magic of science! If no one emails, I’ll ask Rex. You can too, somewhere on his page. Rex’s link: https://www.instructables.com/id/Amazing-Science/
0 Comments
Your comment will be posted after it is approved.
Leave a Reply. |
AuthorWhen I write, I can only have one voice in my head, mine. A little noise is fine. But too much, or worse yet, WORDS, and I must change rooms or pull out headphones. Then I can write on! Categories
All
|

 RSS Feed