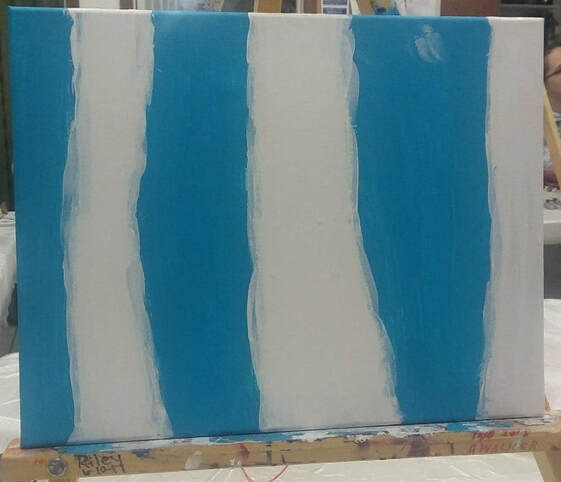
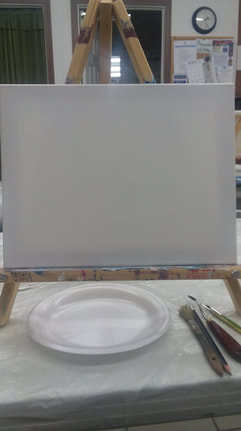
 I started by doing 3 things to my blank canvas. I drew lines for 3 trees, that’s the white areas. I painted the sky blue and the trees white using the biggest brush. 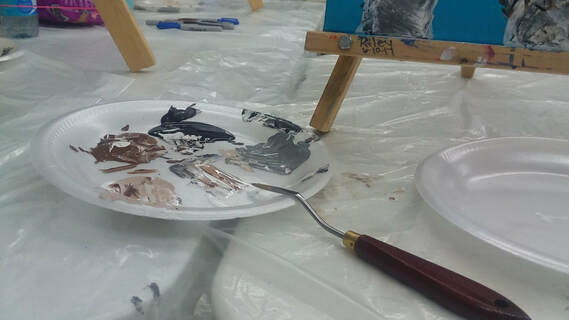 This is what I used to give the trees color. I was given white, black, and brown. I mixed white and black to get gray. Then white and brown to get tan. I picked up three colors at a time on my knife. I pushed them from one side of the tree to the middle. Then I repeated it on the other side. Sometimes I loaded my knife with white, gray, and black. Other times I used white, tan, and brown. 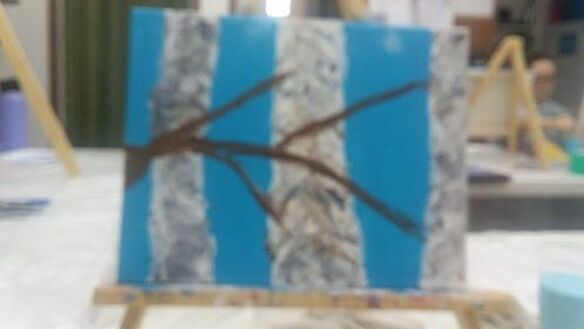 And that’s how I shaded the trees. All 3 are different, depending on the colors I put on the knife. The next step was to add brown branches to the painting. I laid the cardinal on the right where that big empty space is. Then I sketched in lines and painted them brown. This time I used the green handled brush. 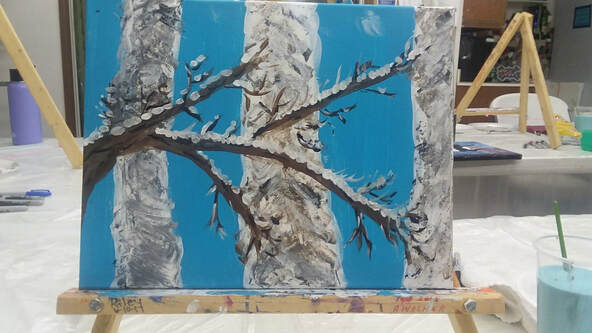 I painted the branches bigger, and I added smaller twigs, all in brown. With the yellow brush I swept in black lines to give the trees more definition. I added dots of snow to the top of the branches. Do you see the wisp of white in the top right corner? It was a mistake. I asked Melanie about covering it up. I decided to keep it. Take a look at the picture below…she was right. It blends right in! 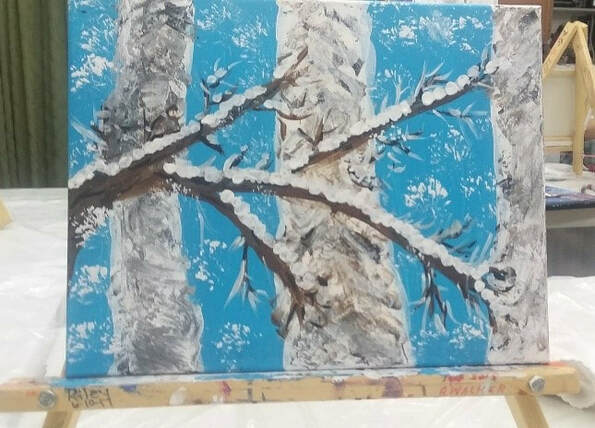 Let it snow! I dotted and swirled in more snow to the branches with the green and yellow brushes. I used the biggest brush to add snow to the sky. How? It’s called dry brush. I dried off the brush, dipped it in white, and dotted my plate till I was happy with the snow. Then I repeated the technique on my canvas till my sky filled with snow. 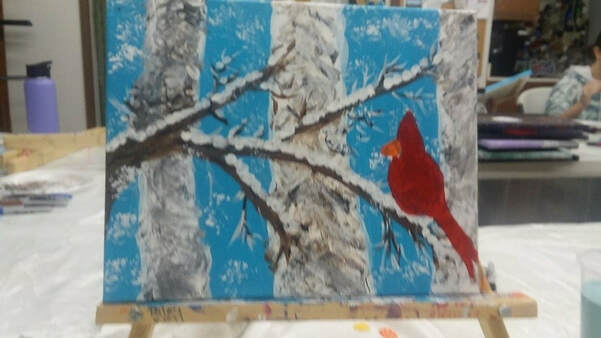 At last! The cardinal’s here! I drew it in first. Then I outlined it in red, except for the beak. Three coats of red covered the background. And of course, I did the beak with the same procedure…outline, then 3 coats of orange. 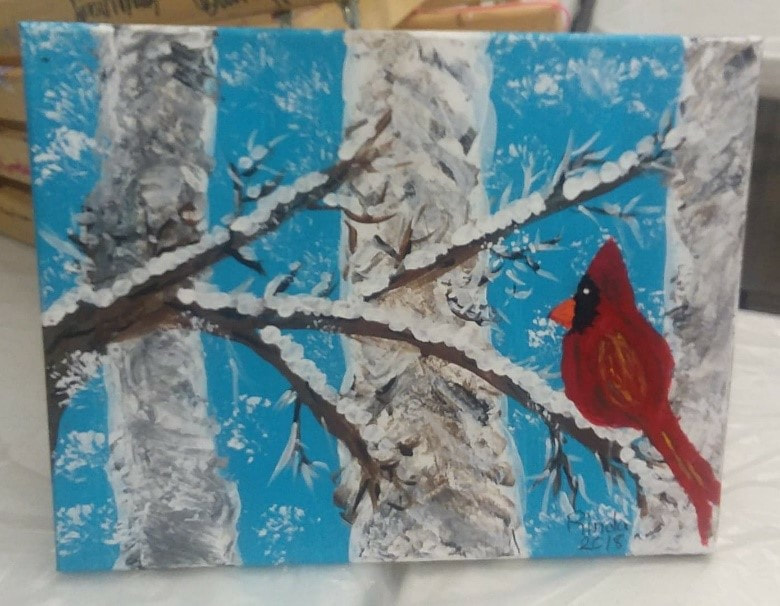 The finale! It was all about the bird! I added a black mask for his face and a white dot for his eye. Then I outlined his wings with brown. It reminded me of making ( )’s. Then I swept in more feather lines with brown. I added orange accents for the feathers.
Confession—I didn’t like his beak or his mask so I fixed them with sharpie markers. Of my 3 paintings, this is my favorite. My take-away, relax and enjoy! This time I didn’t worry about every line. I didn’t worry about what everyone else’s painting looked like. I trusted the process, and my teacher. It worked so don’t worry! Be happy! Enjoy the journey!
0 Comments
Your comment will be posted after it is approved.
Leave a Reply. |

AuthorWhen I write, I can only have one voice in my head, mine. A little noise is fine. But too much, or worse yet, WORDS, and I must change rooms or pull out headphones. Then I can write on! Categories
All
|

 RSS Feed